Category: RV care

  • Ask an RV Expert: Seasonal Maintenance, Tire Talk, and Where to Learn to Drive an RV!

    Advice and tech Q&A from our RV and overlanding expert to help you sort out your issues. Here are a few answers submitted by our readers. Have a question for us? Send it to knowhow@wildsam.com.

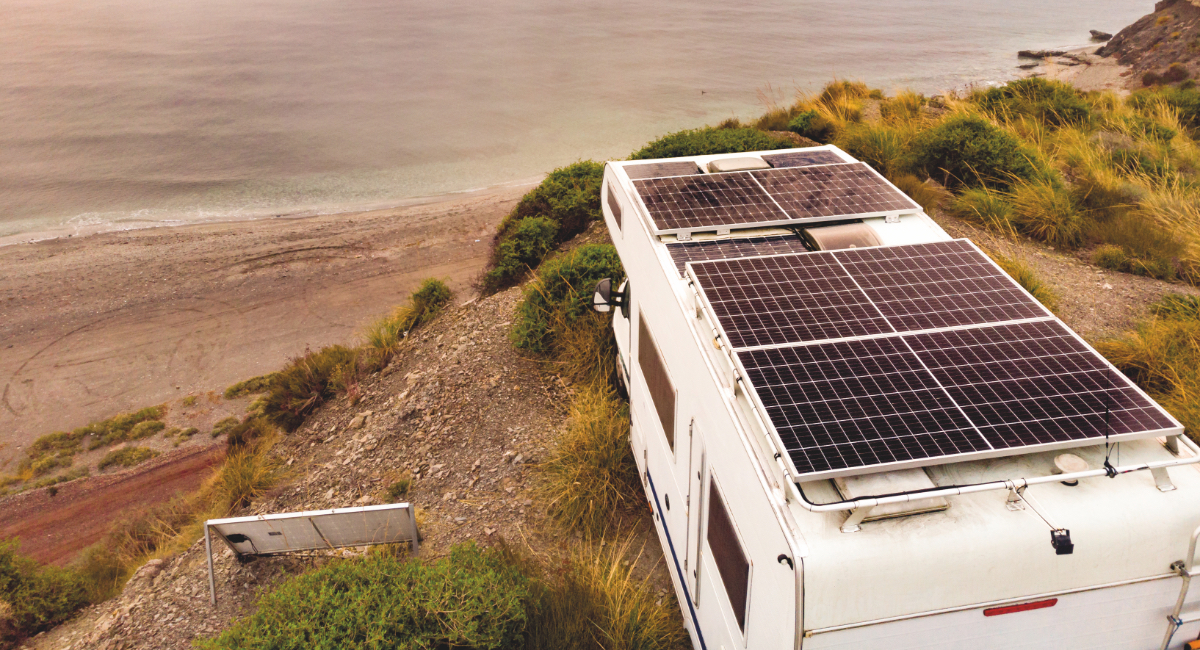
    Yellow spring flowers and camper vehicle wild camping in the distance. Caravan vacation in Spain.

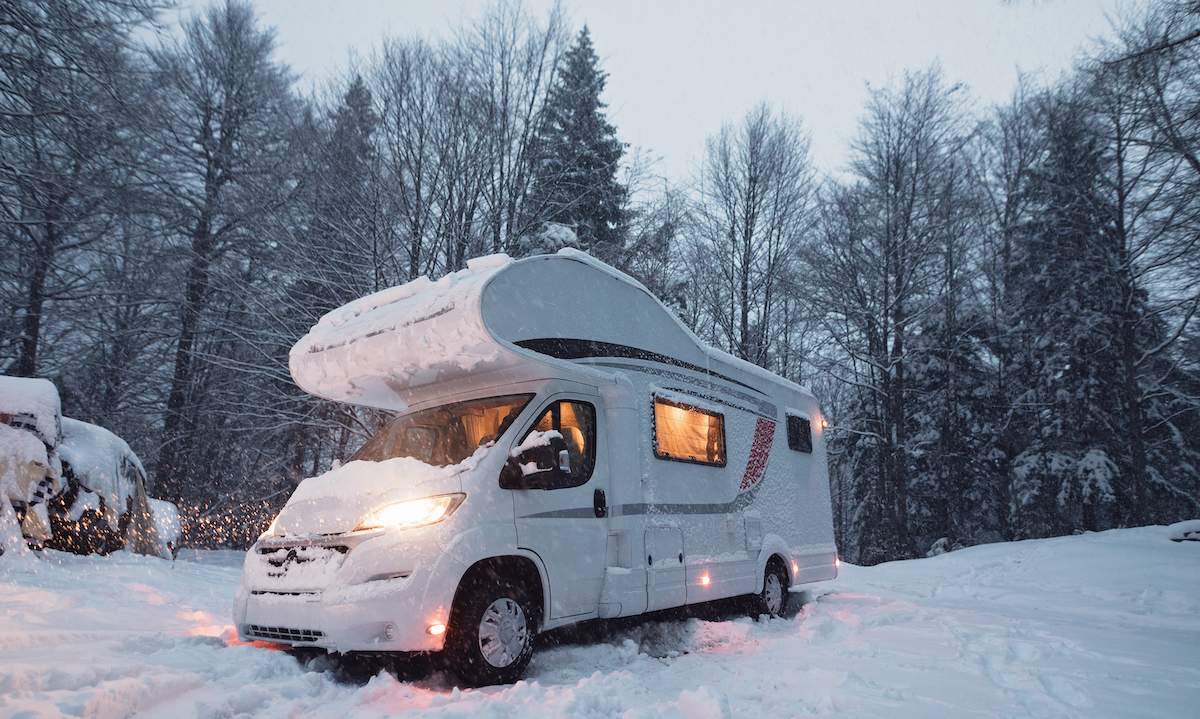
    Seasonal Maintenance: Springing Into Action

    It’s been a long winter, and for many RVers, warm-weather adventures and the road beckon. Not so fast, though! After months of inactivity, wind, rain and sun can take a toll on your vehicle. A bit of seasonal preparation can prevent major highway problems.

    A top-down approach is logical. Climb up on the roof and thoroughly inspect the roof material and any sealers that prevent water from seeping in around vents, air conditioners, solar panel mounts, etc. Over time, these deteriorate, which can lead to serious interior damage if neglected. If you find any cracks or deteriorated sealants, carefully scrape away the old material and replace it with new products such as lap sealant. A heat gun or even a blow dryer can be used to soften up stubborn baked-on material. Inspect the sidewalls and slide-out rooms and lubricate the sliding seals. Local RV shops can step in on any of these tasks if you’re not feeling confident.

    Clean your rig inside and out. Check all the cubbies and compartments for moisture incursion and rodent damage. De-winterize the water system: add freshwater, fill the water heater, test the pump and flush through all the lines by running the sinks, toilets and showers. Add toilet chemicals. Operate all appliances, extend the awning and then lock it in place for travel. Don’t forget to inspect fire extinguishers and propane, carbon monoxide and smoke detectors.

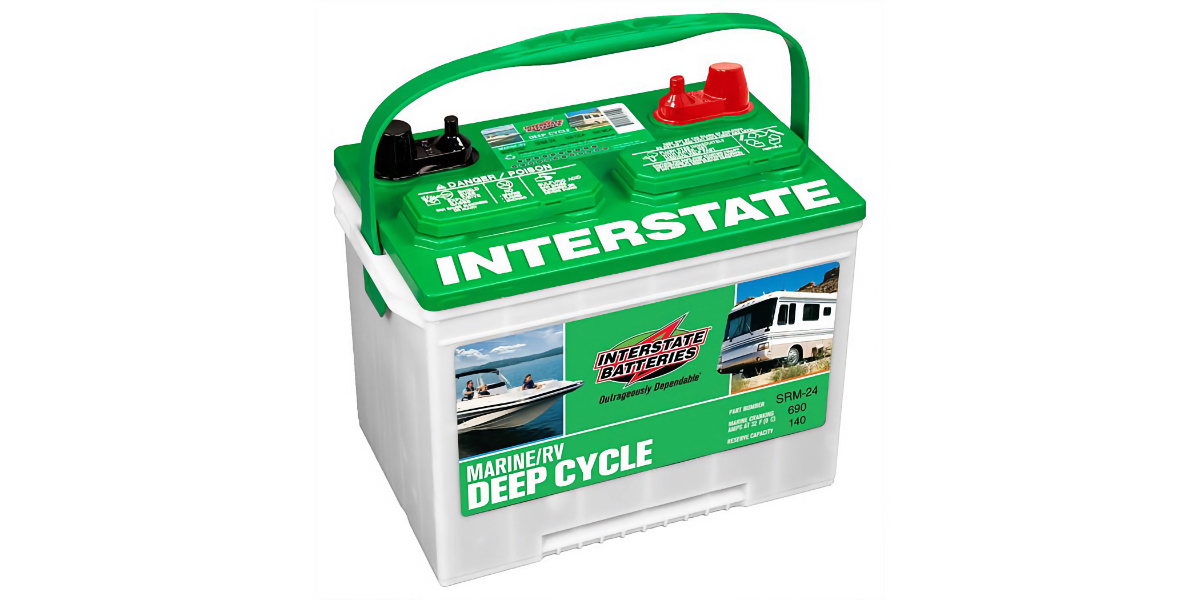
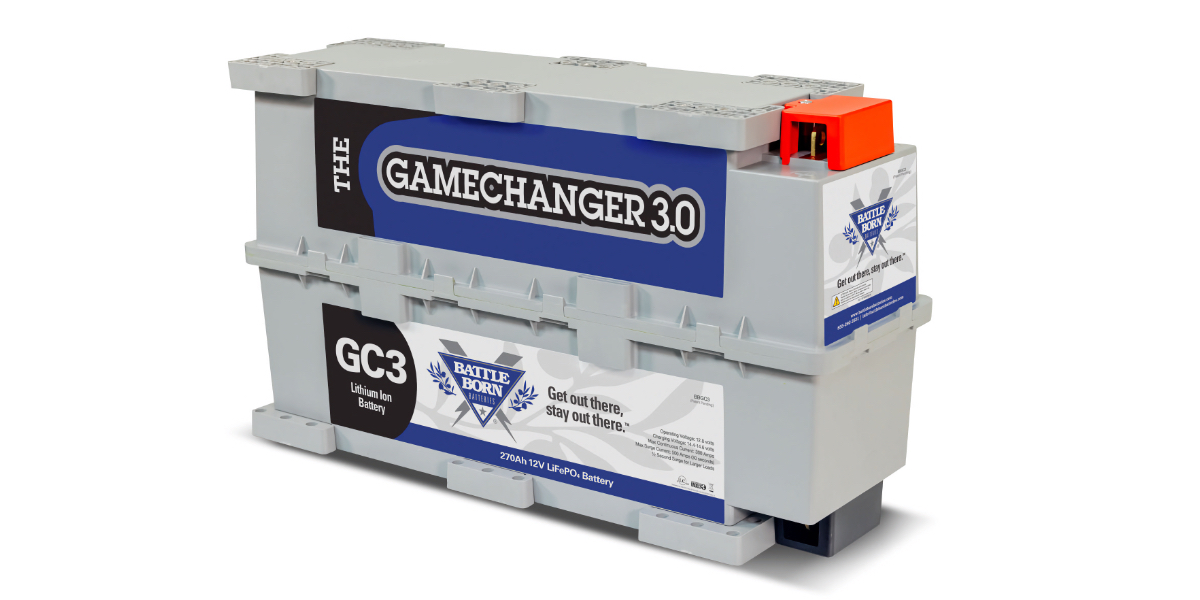
    Batteries are all-important. Wet-cell batteries should have their water levels checked and get topped off with distilled water. Inspect and clean the terminals. Many local auto-parts stores will test batteries for free. (A fully charged lead-acid 12-volt battery should read 12.65 volts and have a specific gravity of 1265.) Complete the job by testing all the lights and electrical accessories on the RV.

    Tires need love too! Give them a good overall inspection, looking for uneven wear, tread depth, cuts, curb and pothole damage. Older tires may have sidewall cracking from age and weathering. The best way to inspect trailer tires is to remove them, so you can see the back sides and check the wheels for damage, cracks and corrosion, etc. Trailer wheel-bearing inspection, repacking, seal replacement, brake inspection and adjustment should all be done on a regular basis in conjunction with tire inspection. Once a year is a good cadence, and getting that moment out of the way before you hit the road for peak travel season makes a lot of sense.

    Of course, tire and wheel removal is not so easily done on a motorhome. If you suspect problems, consider taking your rig to a tire shop. Motorhomes will require another set of maintenance items, including engine oil changes, fluid checks and flushes (depending on how long since the last ones) and generator maintenance (check owner’s manuals for schedules). Check tire date codes. They are stamped on the sidewall after the marking “DOT.” The last four digits are the manufacturing date. The first two of those digits indicate the week, and the last two digits indicate the year. For example 1118 would indicate the 11th week of 2018. Most manufacturers recommend replacing tires more than six years old.

    Inflate the tires to the recommended pressure, including the spare. Read the recommendations on the sidewall, and never exceed maximum rated pressure.

    Got a question for columnist Ken Freund? Write knowhow@wildsam.com.
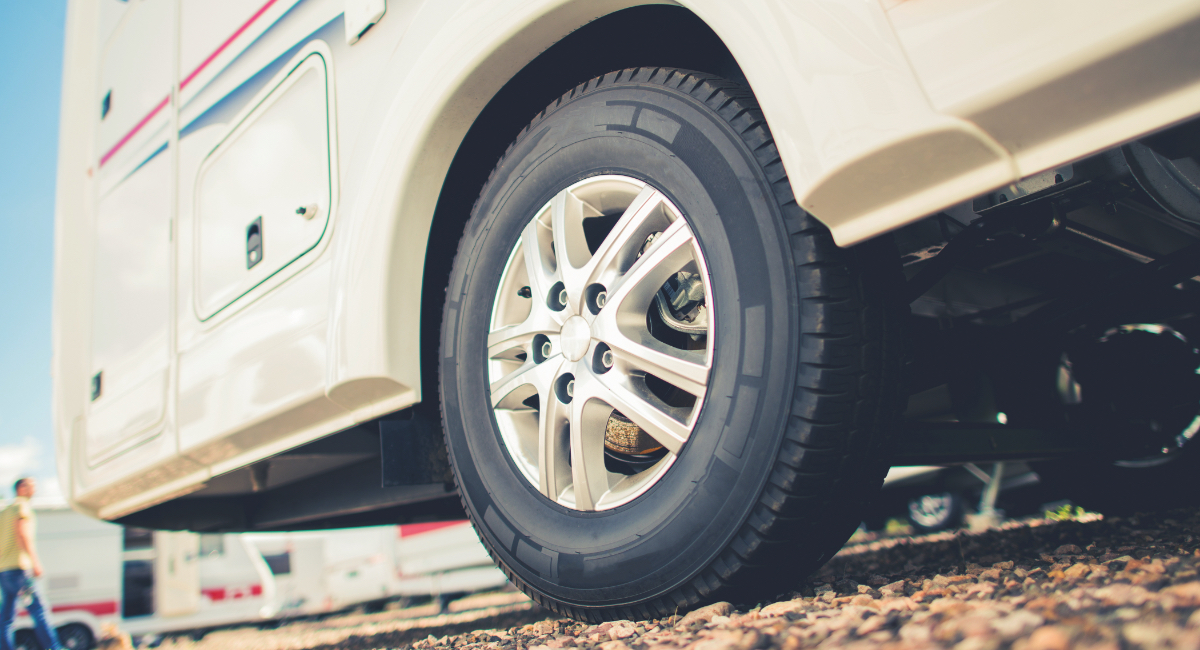
    Photo Credit: Getty

    Let’s Talk Tire Pressure

    Q: I recently read, in “The Rally” section of the February/March issue of Wildsam, the exchange regarding tire pressure and monitoring systems. The author noted keeping the tire pressure at 60 psi cold for his Goodyears. I just wanted to point out that if he has a dual-axle trailer, and the tires are Goodyear Endurance brand, the inflation pressure could be significantly less than 60 psi. Based on Goodyear’s published specs for the Endurances, depending on weight carried per tire, pressure should be in the 40 to 45 range. Over-inflation can lead to failure.

    As an example, our 30-foot Airstream weighs in at 7,600 pounds ready for travel, or 1,900 pounds per tire. We have run 47 psi in our Goodyear Endurance tires for several years, now on our 2nd set. (The first set aged out.) Inflation pressure is a frequently debated issue. What’s your take on it for the situation described by the author?

    —Phil Abele

    A: Thanks for writing! Our previous correspondent didn’t include the size and model of his tires, so I didn’t address that in my reply. According to the load-inflation chart for the Endurance tires, every single 14-inch tire has a weight rating in the 65 psi column. That means that all of these tires are designed to withstand at least that much inflation pressure.

    Tires that are overinflated for their actual load, but are within their maximum rated inflation pressure, are likely to wear near the center of their treads, provide an unnecessarily harsh ride and bruise more easily from hitting sharp edges in the road surface. However, they likely will run cooler than at lower-inflation pressures for a given load, and they shouldn’t be at a significantly higher risk of blowouts than a similar tire inflated to the correct pressure.

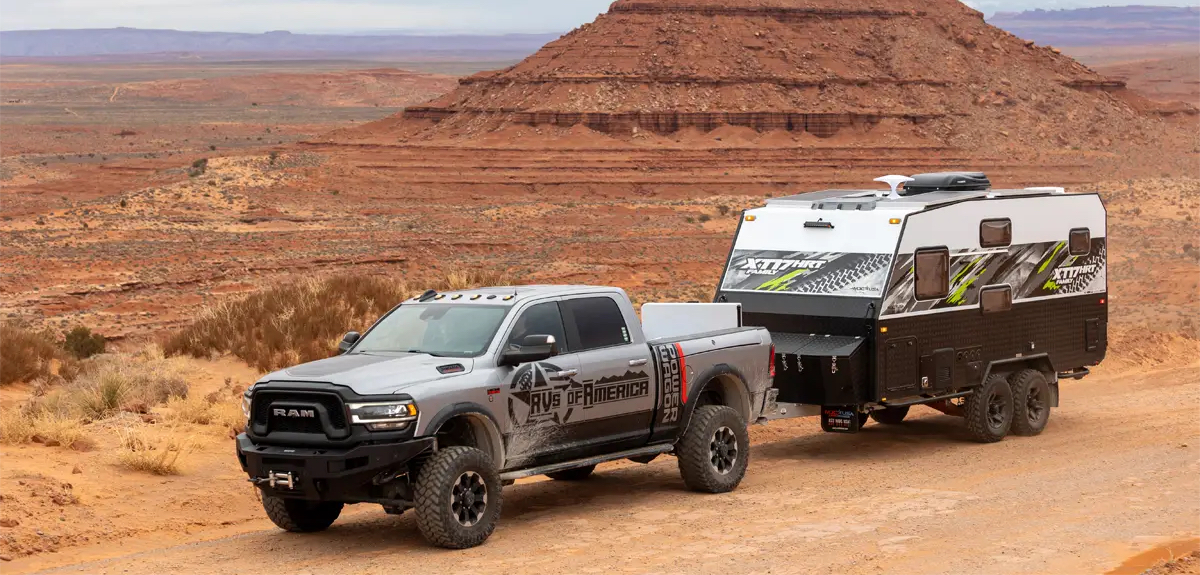
    Photo Credit: MDC USA
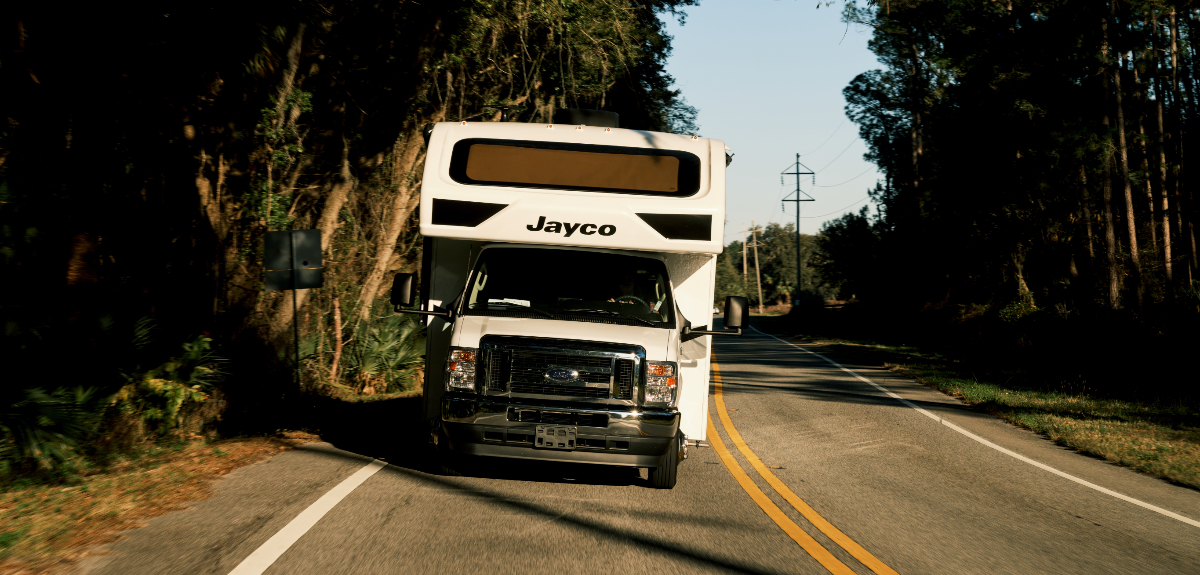
    Towable Twofer

    Q: I recently acquired a full-size pickup truck and a large RV trailer with a conventional hitch, and I have a couple questions. Where can I get driving instruction and practice? And then, regarding adding a friction-type anti-sway bar to the hitch assembly: Do I need to have that professionally installed, or should a good DIYer be able to do it?

    —Cynthia Boccio, Currie, NC

    A: I’m glad to hear that you are interested in safety training. Depending on the level of your driving experience, there are several options. There are online classes, instructors who will travel to you and classes at fixed locations around the country. You might check out rvschool.com or rvbasictraining.com. You might also ask a local driving school or campground host if they know of a local RVer who offers instruction.

    It’s also good to add a sway control. Fishtailing can occur quickly and build up to a dangerous uncontrollable jackknife situation in seconds. Camco, Curt and Reese are some of the companies that offer the popular friction-type controls. They generally mount using a threaded ball stud at one end and a metal plate with a ball attached, which gets bolted in place. The stud requires a larger drill bit, but most DIYers should be able to do it if they can drill holes and follow instructions well (as this is a safety item).

    Photo Credit: Forest River

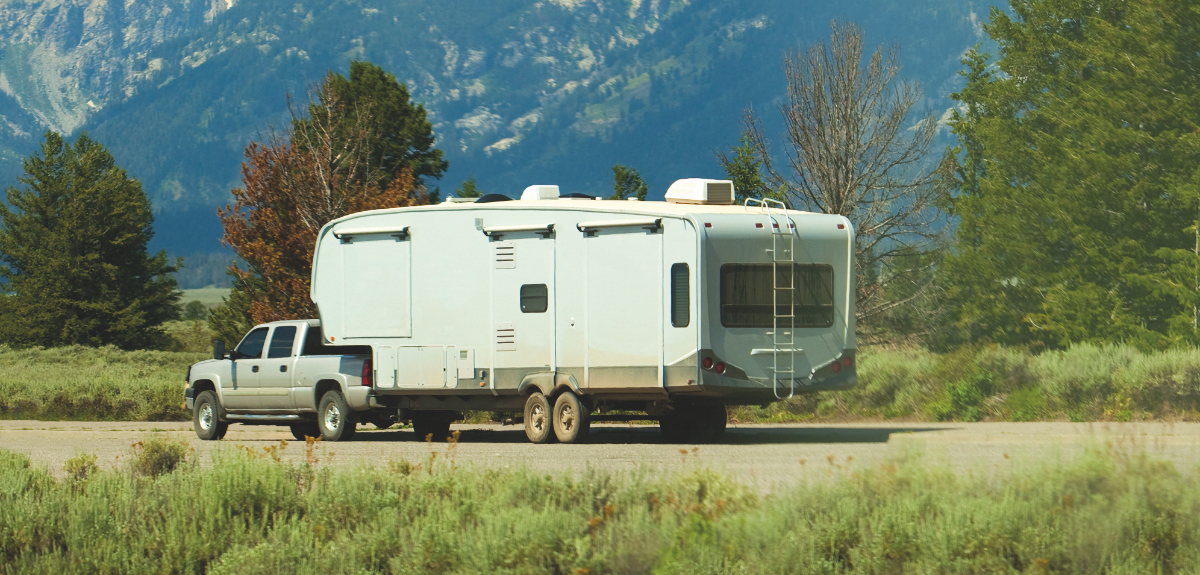
    A Stable Destination

    Q: We purchased a 42-foot destination trailer, which we will be keeping permanently on a lake lot. I have seen most of these trailers leveled and stabilized with concrete masonry units under the frame on all four corners or even in six locations. Is this the correct method for permanently stabilizing this type of trailer? Do I need to be worried about doors being out of square doing this? Is there a better way?

    —Troy Corbett

    A: For folks unfamiliar with the term “destination trailer,” this is a class that fits somewhere between travel trailers and park models. They are typically larger (102″ wide) and taller (11’4″ to 11’11”) than travel trailers, and most are at least 38 feet long. Some of their features make regular towing and camping impractical, such as glass patio doors and house-type appliances that don’t work well for anything but being on a permanent or semi-permanent site.

    Now, to the question. The more supporting points under the frame, the more level and secure the trailer will be. The fewer support points, the more frame flex you will have. I recommend more than six points for such a large trailer. Soil conditions and frame design will determine how many piers or blocks need to be used. I suggest that you find a local company that specializes in moving and situating mobile and manufactured homes in your area. You can also inquire at local mobile home parks for mover and installer references and referrals.

    Photo Credit: Getty

    MPH vs. KPH

    Q: We think we have a stumper for you! We have a 2007 Monaco Cayman XL motorhome that we bought last year and have gone on a few trips with it. On one of our trips, we noticed that our odometer was set for kilometers, not miles. We have tried everything we could find as a suggested fix: We’ve pressed and held the trip set, we’ve pressed it twice, etc. We tried when the vehicle was running and when it was not running. Any ideas?

    —Lynn Mondello

    A: Your motorhome’s owner’s manual says “the trip reset button located below and to the right of the speedometer is used to switch between the odometer, two trip meters and the transmission temperature. Select trip meter 1 or 2 and hold the trip button down for 3 seconds to reset.” However, it does not specify how to toggle between metric and Imperial measurements. This is an important function, because the coaches are sold in both the USA and Canada. I would try going to the main odometer, then hold it for at least three seconds. If necessary, try it both with the engine off but key on, and with the engine running. If all else fails, call customer service!

    Ask Us Anything!

    Share your tech tales and send us your questions to knowhow@wildsam.com. Perhaps our RV expert can help you solve your problems.

    This article originally appeared in Wildsam magazine. For more Wildsam content, sign up for our newsletter.

    The post Ask an RV Expert: Seasonal Maintenance, Tire Talk, and Where to Learn to Drive an RV! appeared first on RV.com.

  • Ask an RV Expert: Questions on Solar Charging, Dealing with Rats, and More

    Our RV expert answers some of your most pressing questions. Here are a few questions submitted by Wildsam readers.

    RV Expert

    Photo Credit: Getty

    The Big Disconnect

    Q: The last two times we had an RV shop do work on our 2024 Forest River Rockwood Geo Pro FBS 29 trailer, they returned the trailer to us with the battery switch in the OFF position. This made me think about long-term solar charging of our batteries. Our trailer has two 100-watt solar panels. In the cooler months, we don’t cover our trailer, which I think means the solar panels charge our batteries daily. When we don’t plan to use our trailer for at least a month, should I switch the batteries off? (Same question for warmer months, when we use a cloth trailer cover.) Also, when we plan to use the trailer within three weeks, I leave it connected to a 120-volt AC power source. Any issues?

    —Robert Sigal, San Diego, CA

    A: RVs have many “parasitic” electrical draws. If those are not offset by charging, they eventually discharge the battery(ies) in a few days or weeks. Solar panels, along with a good charge controller, can replenish that charge—if they are not covered up. I recommend that you determine if the solar-charging power is being fed to the battery before or after the shutoff switch. If the solar-charging output is connected directly to the battery, bypassing the shutoff switch, then it can charge even while the battery is disconnected from the rest of the RV. This is how it should be. (There should be an inline fuse to protect the wiring in case of a short.) When the trailer is covered, plug the coach into 120-volt AC power so the power converter can charge the battery bank. Alternatively, you could charge the battery with a maintenance charger.

    Photo Credit: Zack Wittman

    Rats vs. Wires

    Q: I have a 2019 Jayco Redhawk with an Onan generator. Last year the generator would not run; it turned out that a rodent had gotten into the generator and damaged some wires. After an expensive repair, I left on a five-week cross-country trip. I used the generator once early in the trip and did not need it again until one of the last days. When I started it—nothing. Upon inspection, the compartment was packed with nesting material. All of my stops had been at commercial campgrounds or National Park campgrounds. What is the best way to prevent this?

    —Robert Collins, Youngstown, NY

    A: Rodent damage is a big problem nationwide! Sorry you had it happen twice. There are a number of solutions, some better than others. Some folks place trays of mothballs in the affected areas. However, generator engine heat may be a concern, and mothballs are only effective for a limited time. I suggest a product called Rid-a-Rat, or similar types of electronic deterrents. Some use self-contained batteries; others run off the RV’s 12-volt system. They don’t use a lot of power, but should not be left on for long periods without provision for maintenance charging the battery. Please let us know how it goes!

    Photo Credit: Getty

    Driving Us Nuts

    Q: We have a 2023 travel trailer, and ran into an issue with wheel lugs. (I won’t mention the third-party manufacturer. It’s a high-end trailer.) When we picked up our camper from storage, one tire was almost flat. We travel with a compressor, so we put air in it, got to our campground and set up. Next morning, we went to remove the wheel. All was good until the chrome accessory cap on the lug turned, but the lug nut didn’t. The cap had come loose—this happened to three out of the five. I had to split the caps and peel them off. A rough lesson. As soon as we got home, we ordered 20 solid stainless lugs and changed them all. We recommend checking your lug nuts—a periodic check of the torque, in any case, to make sure the cap isn’t the only thing turning.

    —Ken and Linda Nekos, Robinson Township, PA

    A: Thanks for sharing this! Manufacturers often use these types of lug nuts because they are a little cheaper. I’ve had this happen. It can really ruin your day if it happens out on the road, especially in bad weather or a remote area. Sometimes I’ve had to hammer a slightly smaller socket onto the lug nut to get it to turn. I suggest that anyone who is concerned to check the lug nuts: See if they have thin chrome covers on them. If so, preemptively replace them, and tighten the new ones to the specified torque. After driving a while, pull off the road in a safe spot and re-tighten them, as lugs can loosen.

    Photo Credit: Getty

    Reverse Engineering

    Q: I just bought a 2024 Ford F-250 pickup that has a backup camera. My previous pickup didn’t have one; my 1995 Scamp trailer doesn’t either. I want to take off the tailgate with the camera in it and install a V-type tailgate to accommodate the fifth-wheel camper. Will this stir up problems with the info center? Trigger alarms? Anything?

    —Tim Demuth, Maple Hill, KS

    A: If you remove the tailgate on this model without installing the special Ford wiring harness designed for this purpose, it will likely display a “Tailgate Ajar” warning on the dash, along with an error message. This harness is supposed to be included with the truck, and is typically found in the glove box or under the seat. However, some owners have reported that their rig is missing this gadget. You should be able to obtain a replacement from any Ford dealer parts department. It’s called “tailgate delete cap kit” (part number PC3T15A562, if we’re really getting deep into it).

    There is also a simple manual workaround. The tailgate ajar sensors are switches within the tailgate latches. When those latches are fully closed, the system assumes the tailgate is latched, even if the tailgate is missing. So if you manually trip both latches, the warning will stay off unless or until you trigger the electrical tailgate unlatch function. You didn’t ask, but you might consider fabricating a bracket and installing the camera on the replacement tailgate.

    Ask Us Anything!

    Share your tech tales and send us your questions to knowhow@wildsam.com. Perhaps our RV expert can help you solve your problems.

    This article originally appeared in Wildsam magazine. For more Wildsam content, sign up for our newsletter.

    The post Ask an RV Expert: Questions on Solar Charging, Dealing with Rats, and More appeared first on RV.com.

  • How to Convert to Lithium RV Batteries

    Does your RV still use lead-acid power cells for its house battery? Have you been thinking about switching over to newer lithium batteries instead? If so, then the video above is definitely for you. It comes our way courtesy of the All About RVs YouTube channel, and it takes an in-depth look at this process, taking us through everything you need to know to convert to lithium RV batteries.

    The clip takes us through everything you need to consider when making this conversion, including whether or not you’ll need to replace your battery monitor, adding a solar converter, alternator charging, performance in extreme temperatures, and more. It also takes a look at the cost of such a conversion, which has gotten considerably less expensive as lithium batteries have come down in price. What once seemed prohibitively expensive is now quite affordable, especially when you factor in the longer lifespan that comes with lithium power cells.

    Lead-Acid vs. Lithium RV Batteries

    We’ve already touched on a few of the benefits of lithium batteries versus lead-acid models, most notably increased storage capacity and a much longer lifespan. Whereas lead-acid power cells offer 300-500 charge cycles, a lithium battery is generally good for ten times those numbers or even more. Lithium cells also charge much more quickly, require less maintenance, weigh a lot less, and are less likely to spark a fire, making them safer, too.

    At this point, the main advantage that lead-acid batteries have over lithium is price. The initial cost of buying lithium house batteries is certainly more than their lead-acid counterparts, although you’ll recoup that cost over the lifespan of the battery. A lithium cell can easily last up to ten years, even with heavy use, while a lead-acid model will lose capacity much more quickly and will need to be replaced multiple times over the same span.

    Photo Credit: Battle Born

    Converting to Lithium RV Batteries

    The video does an excellent job of taking viewers through the process of converting your RV to using lithium batteries. As you’ll see, you can complete that conversion in stages, replacing the batteries first, then upgrading the charge converter, your inverter, and other parts over time. That isn’t necessarily the most efficient way to complete the process, but it can help defray the costs to some degree. Ultimately, you’ll want components that are lithium compatible to get the best performance, but you can get by temporarily with your existing parts if you have to.

    The notes that accompany the video on YouTube list all of the parts used in the conversion with links to their online product pages. That makes it easy to grab the same parts for your own lithium upgrade project or compare specs with similar products made by alternative manufacturers. Either way, it makes it very easy to see everything you’ll need ahead of time, allowing you to purchase and install those items as you complete different phases of the switch over from lead-acid batteries.

    Perhaps the best thing about this video is that it demystifies the process nicely. It shows that there are a number of things to consider when converting from lead-acid to lithium, but that the actual implementation isn’t as difficult as you might think. The clip mixes technical know-how and practical experience nicely, which hopefully will make this project less daunting.

    Thanks to the All About RVs channel for sharing.

    The post How to Convert to Lithium RV Batteries appeared first on RV.com.

  • Tech Q&A: More Winter RVing Questions, Fixing a Bad Thermostat, and More

    Our resident RV maintenance expert provides advice on a wide variety of topics.

    Image Courtesy of MAD.vertise/Shutterstock

    More Questions on Winter RVing in New Jersey

    Thank you for being so helpful with my questions about our 22-foot Keystone Cougar and wintering full-time in New Jersey. A few more queries for you here! — Shelly Sterling-Williams, Bogota, NJ Q: Staying warm while keeping the humidity level under control has been a big challenge. Thoughts? A: I suggest using a hygrometer (relative humidity meter) to monitor humidity inside the coach. They’re not expensive. Q: Should we stuff the storage compartment with storage bins to keep that area warm? A: Depending on the size of the storage area(s), you could store seasonal clothes there— blankets, towels, bed linens, etc. If that’s not enough, try some foam boards. Empty plastic storage containers don’t insulate well. Q: Should we try to put something over the outside door before the snow comes? A: The outside door is fully weatherproof and should be fine in snow. However, if cold intrusion is a problem, rig up an insulating curtain on the inside. (However, make sure it won’t slow egress in case of a fire.) Q: I was told to change the filter in my 10-cubic-foot Furrion refrigerator every six months. Do I really need to? A: The filter you refer to is only used for food odor control. It’s not necessary for safe operation—many RV refrigerators don’t even have this feature. Replacement frequency really depends on what kinds of food you have stored in the fridge, and if they are well sealed. Many folks use a package of baking soda, at significantly lower cost. That said, the filter is easy to replace—it basically snaps in. Look at the mounting points on the new one before removing the old one.

    Photo Credit: Dometic

    Replacing a Faulty Thermostat

    Q: We have owned our 2019 Forest River Impression 20RB since new. The Dometic Single Zone LCD Thermostat has always been very sensitive to the touch—hard to select the mode or temperature you’re aiming for. We suspect we need to replace it. What do you think? — Jim and Pat Thompson, Seaford, DE A: I haven’t heard of those exact symptoms, but it sure sounds like the circuit board is going bad. Replacements are not very expensive. I suggest changing it for a model that has the features you want. A DIYer can change one quite easily—just keep track of which wire goes to which terminal. I always take a picture of the wiring before taking it apart.

    Photo Credit:

    Slo-Flo Resolved

    Q: We have a new 2024 Grand Design Imagine 2500RL. We have very low water pressure in the shower— worse on city water, marginally better on the internal tank. The flow is not enough to keep the tankless water heater engaged. Water pressure and flow at both bath and kitchen sinks are good. To keep hot water in the shower we have to turn on hot in the bathroom sink. The tankless water heater is factory installed. What’s going on here? — David Reece, Fort Wroth, TX A: In my initial response to David, I noted that I strongly suspected the shower head had a flow restrictor installed. It could have been partly clogged with debris—or maybe something was just wrong with it. In a second note, he related that the original dealership had investigated and asked about a brass fitting on the water intake: a pressure regulator he’d used for years. The dealership advised removing it, but that didn’t resolve the problem. A new multi-position head did the trick, working fine with the old pressure regulator.

    Photo Credit: Anetlanda/Getty

    Tune In

    Q: My wife and I are part-time campers, thinking of full-timing it. Currently we have DirecTV in the house as well as in our 2020 Winnebago Adventurer. At some point, we lost local channels in the rig. DirecTV told us to switch the control box, but as it turns out, the local stations are SD vs. HD, so only available with an antenna. Any suggestions? My wife likes to tape her soaps, and (in fairness) I like the golf channels. — Lance Arnold, Elyria, OH A: Dish and your current DirecTV are the two options for mobile RV satellite reception. You can get their services anywhere in the country. And yes, you can use an external antenna for over-the-air TV—this can be iffy, depending on where you go. IPTV, or TV over Internet (TCP/IP connections), can get you to services like Netflix, Hulu, Roku, etc. Most charge a moderate monthly fee. However, campground Wi-Fi likely can’t give you the needed bandwidth for streaming. If you don’t want to be a bandwidth bandit, you can get TV applications on your computer. There are a number of TV applications like LinuxTV, in addition to streaming via a web browser. Some, such as Miro on Linux using Bittorrent, can be throttled so you don’t hog bandwidth.

    Ask Us Anything!

    Share your tech tales and send us your questions: knowhow@wildsam.com.

    This article originally appeared in Wildsam magazine. For more Wildsam content, sign up for our newsletter.

    The post Tech Q&A: More Winter RVing Questions, Fixing a Bad Thermostat, and More appeared first on RV.com.
Exit mobile version